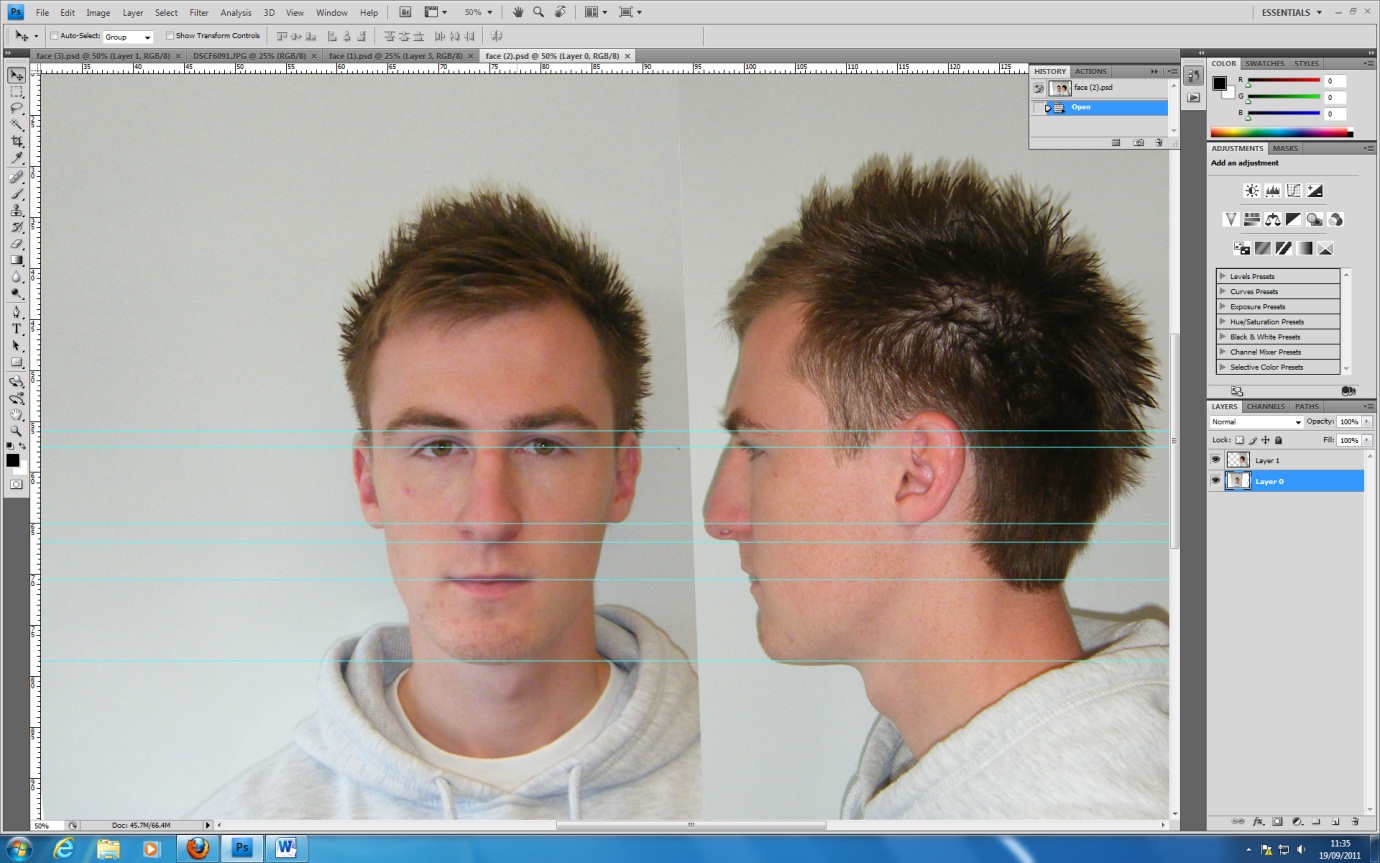
Once the head layout was complete and I was happy that my key features of my face were aligned, the next process was to produce topology lines in photoshop. By producing these lines would give me a guideline to use within 3DS Max to help produce polygons for the creation of my face. The first step was to choose one side of the face to work on and with a size 3 brush, and in blue, trace (draw) any wrinkles or creasings/ raises on my face. The reason for only drawing on one side of the face is that we will only be creating one side and mirror imaging to create a whole face when in 3Ds Max.

Once this stage had been completed using a smaller brush size of 2, on a new layer and using red this time, go over the created blue lines but create 4 sided polygons. Almost like a spiderman effect by first starting with the eye and working outwards, making sure that the polygons were continuous and flowing to the shape of my face.

This stage of the process is very important as it is the main guidline for face in 3Ds Max and takes time and precision to get the polygons flowing. It is key that the lines where continuous and that they didn't create 3 sided polygons as when in use in 3Ds Max the corners would create bumps/plenashes that would not be able to correct and produce a non-realistic model. The importance is 4 sided shapes and to continue going outwards from the eye until reaching the nose and cheek.

Changing the lines and trying to make them flow with my face prooved a challenge and took many attemps to finally get to grips with how it should look like. Once I was happy with how I was getting on the next challenge was to produce a diamond shaped polygon below the eye but level with the nose and cheek. This is important that it is achieved as it will allow us to change the direction of the flow of polygons towards the mouth and down towards the jaw. Again playing around with the lines and polygons I managed to achieve this.
 Continuing in the same fashion I went down the side of the face and down towards the lower jaw, making sure that my polygons were 4 sided and directed by the flow of my face.
The same process was continued around the mouth and on the chin. This part making sure that the flow would follow the flow of my face but making sure that the area upper lip the horizontal lines were straight and like wise for the area below the lower lip were horizontally and vertically straight. This is because when we mirror the polygons created for the otherside of the face when we look at them the face will be level and smooth, if I didn't have them straight then the face would incave and produce indends.

The same process as before was key for the forehead aswell. Making sure the lines were straight near the middle where the image would be mirrored.

The last stage was the nose, this took some time trying to make sure that all lines would flow through the nose and upper lip, but ensuring that we had enough polygons at the sametime. Once I was happy with the outcome I decided to tidy up the lines and polygons to make them look smoother and ensuring that they were all 4 sided. The finished outcome is shown below and although my patience was tested throughout this part I am very happy with the produced result and look forward to trying to create myself in 3D.

An additional task set through the tutorial video was to put crease lines onto the side-on profile picture. Again using the same techniques and blue paint brush in a new layer this was achieved.


