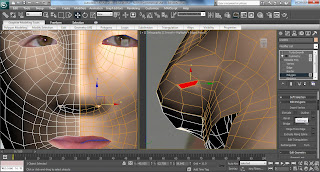
Once I was happy with the shaping of my face I next moved onto looking at the nose and mouth. I first started on the nose. I created a polygon using the editable poly > polygon > edit geometry > create, I made each vertex connect to an original around the nostril ensuring that snap toggle was on. I then welded the vertices together so that when I extruded the polygon there would not be a gap. I next extruded the polygon using the edit polygon > extrude, and clicking the rectangle next to extrude, next I set the value to -0.4...

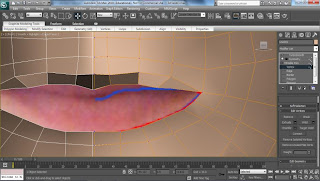
For the lips I used a different technique, I clicked on the edges tool in editable poly > edges, and selected the top lip edges. I then clicked on the select and uniform scale button and held down the shift button to create a copy. I then moved the vertices to a position I was happy with, I made sure that the middle part would link up with the other half of my face.

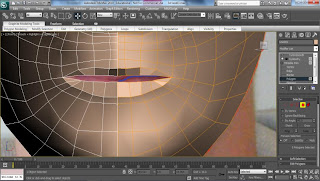
I repeated the same process for the bottom lip and this is the outcome for my lips...

The same can be done for the eyes, I will be looking at this more closely when I come to creating the eyeball for my model.
No comments:
Post a Comment