At this stage I was to create the back of my head and connect it to the front of my face. I first opened up my topology.psd file and went to the side profile picture, on my neck I used the blue paint brush again to draw creases and used the red pen to create 4 sided polygons again. I drew this on the back of my head making sure it flowed and went down my neck to my shoulders. The most important part was that I did not draw over my ears as they will be done seperately. I then reloaded my topology in 3Ds Maxx so I could use the newly draw lines as a guide for when I created the back of my head.

Instead of carrying on from the original face and building backwards, a sphere was created using standard primatives > sphere.

Instead of carrying on from the original face and building backwards, a sphere was created using standard primatives > sphere.

Once the sphere was created I then edited the scales of all the axis so that it resembled the size of my head. Once I was happy with the size I reduced the segments so that there was less but along the top had the same number of segments as the top of my face, so that it would be easier to connect them and the face and head would flow.
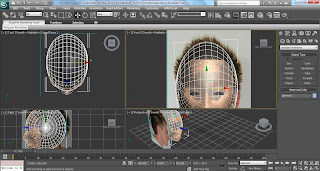
As you can see from the previous image, the sphere overlaps the front of my face, plus my head is not spherical. The next stage was to delete the appropriate polygons within the sphere, to do this I clicked on my sphere and converted it to an editable poly and clicked on polygons. I then went to the top toolbar, changed rectangular selection region to paint selection region, and window/crossing from outside the square to inside the square. Now I had set these up I dragged from outside the sphere across all the unwanted polygons like a spray can.
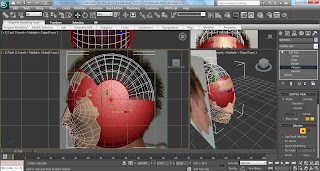
With all them polygons selected I deleted them, I then made sure that the vertices would connect with the top of my face. I selected the end vertices of the sphere and ensuring that snap toggle was on I snapped the vertices to the correct vertex on my face. For the end vertex (by my ear side) I went into editable poly, selected the vertex and used soft selection. This gave a more natural curve and made connecting my vertices easier. I then went off soft selection and continued matching up my vertices. Once this was completed I could go about reducing the roundness and amount of polygons again. I then went onto editable poly > edges and selected every other edge on the inside of the sphere. I then under selection press ring, and this highlighted all the edges in that row of polygons around the sphere...
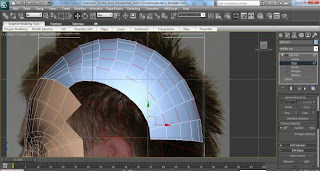
These were then deleted and gave me fewer polygons to work with to make editing simpler and reduce the roundness of my head.
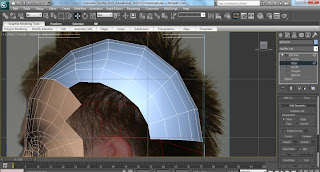
With the basics now set up I could crack on with the creation of the back of my head. I selected certain edges and with the moving tool selected and holding shift I extended out new polygons. I then adjusted them accordingly and made sure that the vertices were snapped together as like earlier.
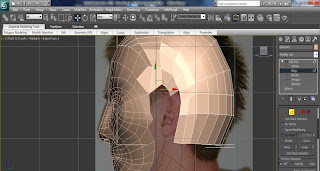
I continued this process for the remainder of my head and was making sure I connected the correct vertex with the corresponding vertex on my face. This is how it looked when it was connected...
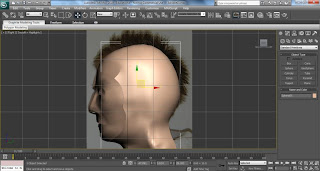
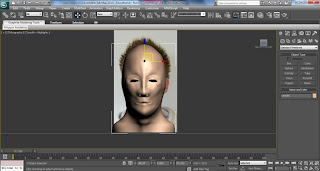
Once I had produced the back of the head, I continued down the neck and part of the shoulder. I used both the front and right angles to adjust the vertices to the postions that they should be according to my plane. Below is how my head and neck was looking from the front view...
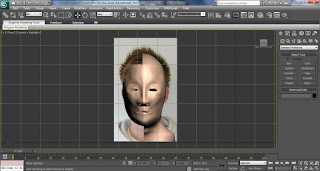
I was now happy with how my head was looking so next was to attach my head to my face. To do this I selected my face and went into editable poly. In here under edit geometry I selected the rectangle box next to attach and selected my sphere.
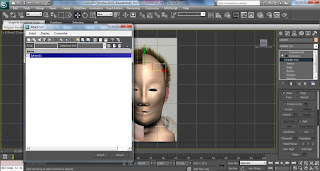
Now that my face had now become one whole mesh, I had to connect my vertices I had snapped earlier with my face mesh. To select them all I again used the same technique from earlier where I deleted the polygons on my sphere. Using the paint spray technique again, I selected all the edged vertices and went down to weld. This welded the vertices together and now when I move a connected vertex it moves as one and not the individual vertex and creating a gap.
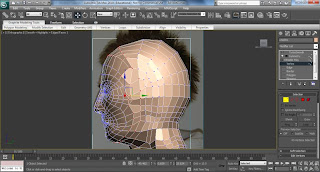
Lastly I moved some of the vertices around to create a more natural looking connection between face and back of the head. Below is how my head is looking at this stage...
No comments:
Post a Comment